안녕하세요 프로나인 입니다.
Android Material Design 따라하기 2번째 시간입니다.
앞에서 Material 라이브러리를 추가 하는 방법을 알아봤습니다.
https://koohee.tistory.com/3?category=891895
Android Material Design 따라하기 1 - 라이브러리 추가
개발자의 고민들 중에 하나 디자인입니다. 디자이너 없이 개발 하다보면 어느 시점에서 분명 디자인 고민을 하게 됩니다. 그래서 디자이너 없이 보다 만족 스러운 디자인을 만들어내는 Material Design 을 소개하..
koohee.tistory.com
이번에는 라이브러리를 추가 했으니 이제 적용하고 활용 하는 방법을 알아보겠습니다.
Material 따라하기 시리즈는 누구나 쉽게
Material Design 을 가지고 하나의 어플을 만들어갈 수 있도록 진행 해 볼려고 합니다!
https://material.io/develop/android/
Develop for Android
Build beautiful, usable products faster. Material Design is an adaptable system—backed by open-source code—that helps teams build high quality digital experiences.
material.io
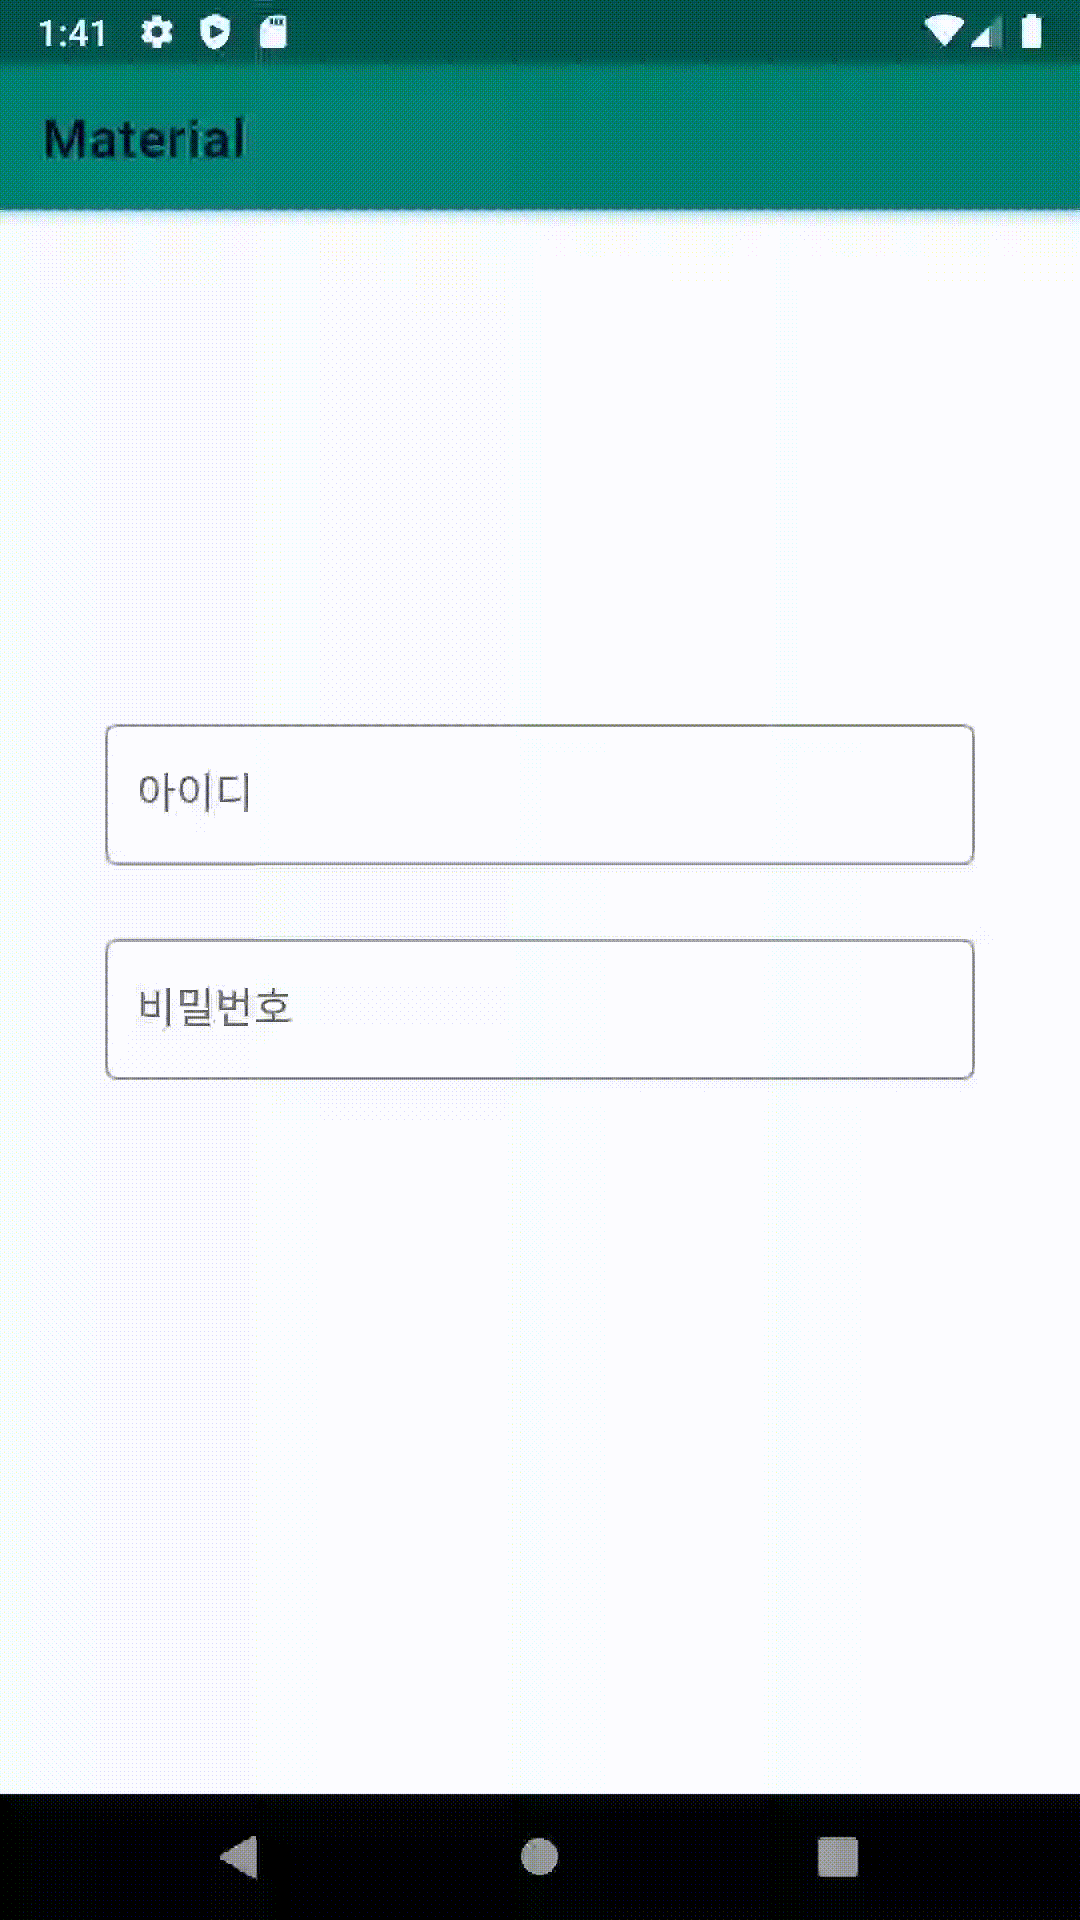
보통 어플들을 실행 시키면 맨 처음 로그인을 진행 합니다.
디자인도 로그인 화면처럼 구성 해보겠습니다.
우선 Material Design을 사용하기 위해서는 style에 Material Theme를 적용을 시켜야 합니다.
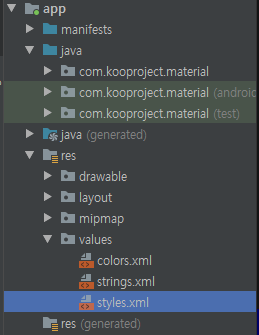
App - res - styles.xml 위의 경로로 들어가 아래 코드에 parest = "Theme.MaterialComponents.DayNight" 를 수정해줍니다.
< styles.xml>
<resources>

    <style name="AppTheme" parent="Theme.MaterialComponents.DayNight">
    	... (중간 생략)
    </style>

</resources>
< EditText >
우선 기본적으로 사용하는 EditText 와는 구성이 다릅니다.
 <EditText
        android:layout_width="wrap_content"
        android:layout_height="wrap_content"
 		..
        ../>
위에 처럼 기본 design 을 사용할때 EditText 만을 사용하는데 Material 디자인에서는 이와 다르게
 <com.google.android.material.textfield.TextInputLayout
        android:layout_width="wrap_content"
        android:layout_height="wrap_content">

        <com.google.android.material.textfield.TextInputEditText
            android:layout_width="wrap_content"
            android:layout_height="wrap_content" />

    </com.google.android.material.textfield.TextInputLayout>
이런 식으로
TextInputEditText 를 TextInputLayout 으로 감싸는 구조인것을 볼 수 있습니다.
아래 적용 코드입니다.
ConstarintLayout을 Layout으로 사용하여 보기 어려울 수있지만 큰 틀만 보시고 원하시는 크기와 디자인으로 작성하시면 될것입니다.
<activity_main.xml>
<?xml version="1.0" encoding="utf-8"?>
<androidx.constraintlayout.widget.ConstraintLayout
	xmlns:android="http://schemas.android.com/apk/res/android"
    xmlns:app="http://schemas.android.com/apk/res-auto"
    xmlns:tools="http://schemas.android.com/tools"
    android:layout_width="match_parent"
    android:layout_height="match_parent"
    tools:context=".MainActivity">

    <com.google.android.material.textfield.TextInputLayout
        style="@style/Widget.MaterialComponents.TextInputLayout.OutlinedBox"
        android:layout_width="0dp"
        android:layout_height="wrap_content"
        android:layout_marginLeft="40dp"
        android:layout_marginRight="40dp"
        android:hint="아이디"
        app:layout_constraintBottom_toBottomOf="parent"
        app:layout_constraintLeft_toLeftOf="parent"
        app:layout_constraintRight_toRightOf="parent"
        app:layout_constraintTop_toTopOf="parent"
        app:layout_constraintVertical_bias="0.35">

        <com.google.android.material.textfield.TextInputEditText
            android:id="@+id/edit_id"
            android:layout_width="match_parent"
            android:layout_height="wrap_content" />

    </com.google.android.material.textfield.TextInputLayout>

    <com.google.android.material.textfield.TextInputLayout
        style="@style/Widget.MaterialComponents.TextInputLayout.OutlinedBox"
        android:layout_width="0dp"
        android:layout_height="wrap_content"
        android:layout_marginLeft="40dp"
        android:layout_marginRight="40dp"
        android:hint="비밀번호"
        app:layout_constraintBottom_toBottomOf="parent"
        app:layout_constraintLeft_toLeftOf="parent"
        app:layout_constraintRight_toRightOf="parent"
        app:layout_constraintTop_toTopOf="parent"
        app:layout_constraintVertical_bias="0.50">

        <com.google.android.material.textfield.TextInputEditText
            android:id="@+id/edit_pwd"
            android:layout_width="match_parent"
            android:layout_height="wrap_content"
            android:inputType="textPassword" />
    </com.google.android.material.textfield.TextInputLayout>

</androidx.constraintlayout.widget.ConstraintLayout>
여기서 TextInputLayout 에
style="@style/Widget.MaterialComponents.TextInputLayout.OutlinedBox"
을 적용하여 테두리가 있는 EditText 를 만들수 있습니다.
다음 Material Design - 3 에서는 Button을 적용시키는것을 알아보겠습니다.
참조 - 안드로이드 Developer
https://developer.android.com/guide/topics/ui/look-and-feel?hl=ko
Android의 머티리얼 디자인 | Android 개발자 | Android Developers
머티리얼 디자인은 플랫폼 및 기기 전반의 시각적 요소, 움직임 및 상호작용 디자인을 위한 포괄적인 가이드입니다. Android 앱에서 머티리얼 디자인을 사용하려면 머티리얼 디자인 사양에 정의된 가이드라인을 따르고 머티리얼 디자인 지원 라이브러리에 제공된 새로운 구성요소 및 스타일을 사용하시기 바랍니다. 이 페이지에서는 사용해야 하는 패턴 및 API를 간략하게 설명합니다. Android는 머티리얼 디자인 앱을 빌드하는 데 도움이 되는 다음과 같은 기능을 제
developer.android.com
참조 - Material Design
https://material.io/develop/android/
Develop for Android
Build beautiful, usable products faster. Material Design is an adaptable system—backed by open-source code—that helps teams build high quality digital experiences.
material.io
'안드로이드 > Material-Design' 카테고리의 다른 글
| Android Material Design 따라하기 6 - BottomNavigation (0) | 2020.09.29 |
|---|---|
| Android Material Design 따라하기 5 - 메뉴화면 (RecyclerView & Adapter) (0) | 2020.09.20 |
| Android Material Design 따라하기 4 - 메인화면 (ToolBar & AppBar) (2) | 2020.05.10 |
| Android Material Design 따라하기 3 - 로그인 화면 구상(Button) (6) | 2020.05.03 |
| Android Material Design 따라하기 1 - 라이브러리 추가 (4) | 2020.04.12 |


댓글